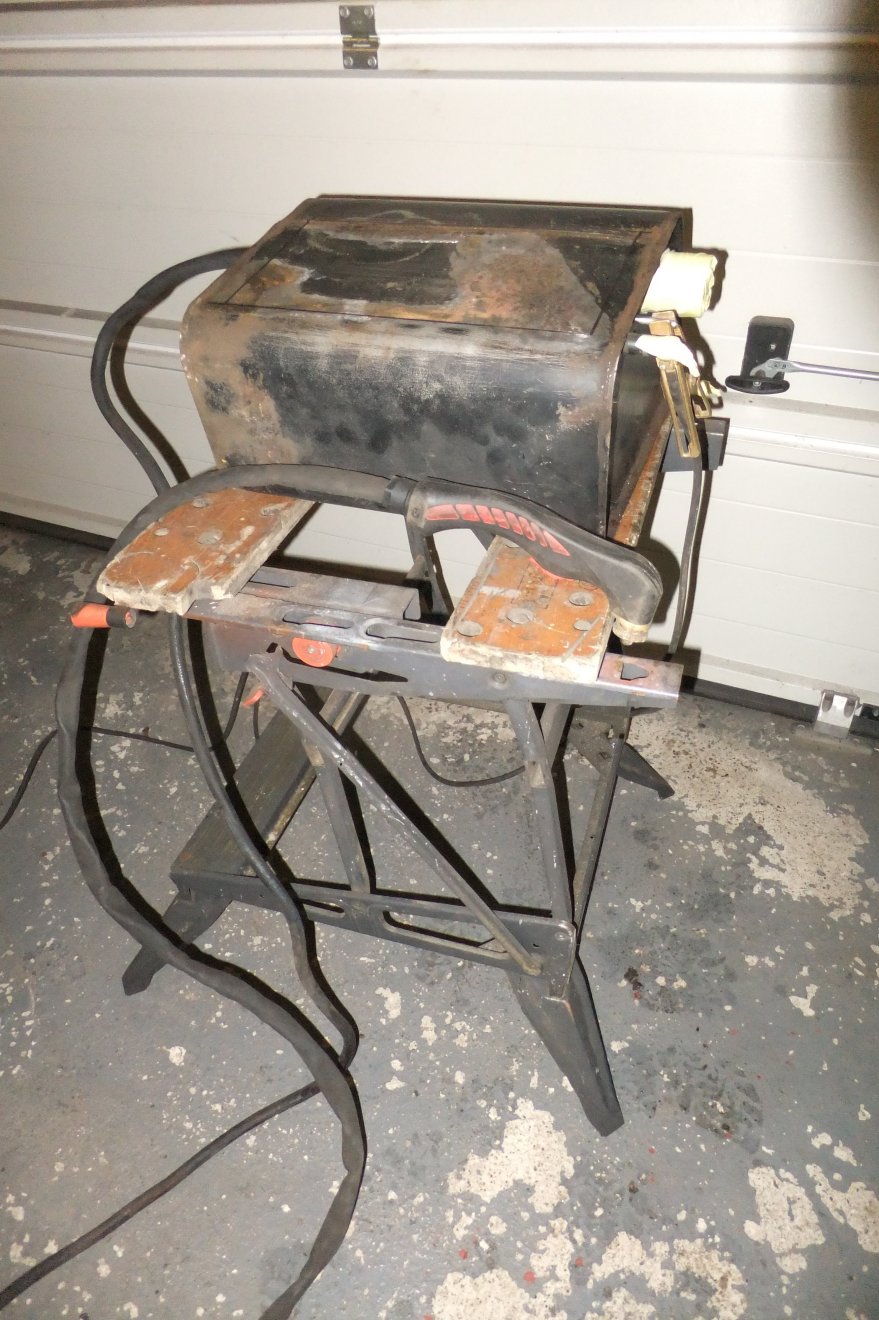
I bought some new steel sheet with which to repair the leaking fuel tank. The tank had lain empty for some months and there was no real smell of vapour about it but even so I didn't fancy waving a naked flame in the form of a plasma torch, anywhere near it.
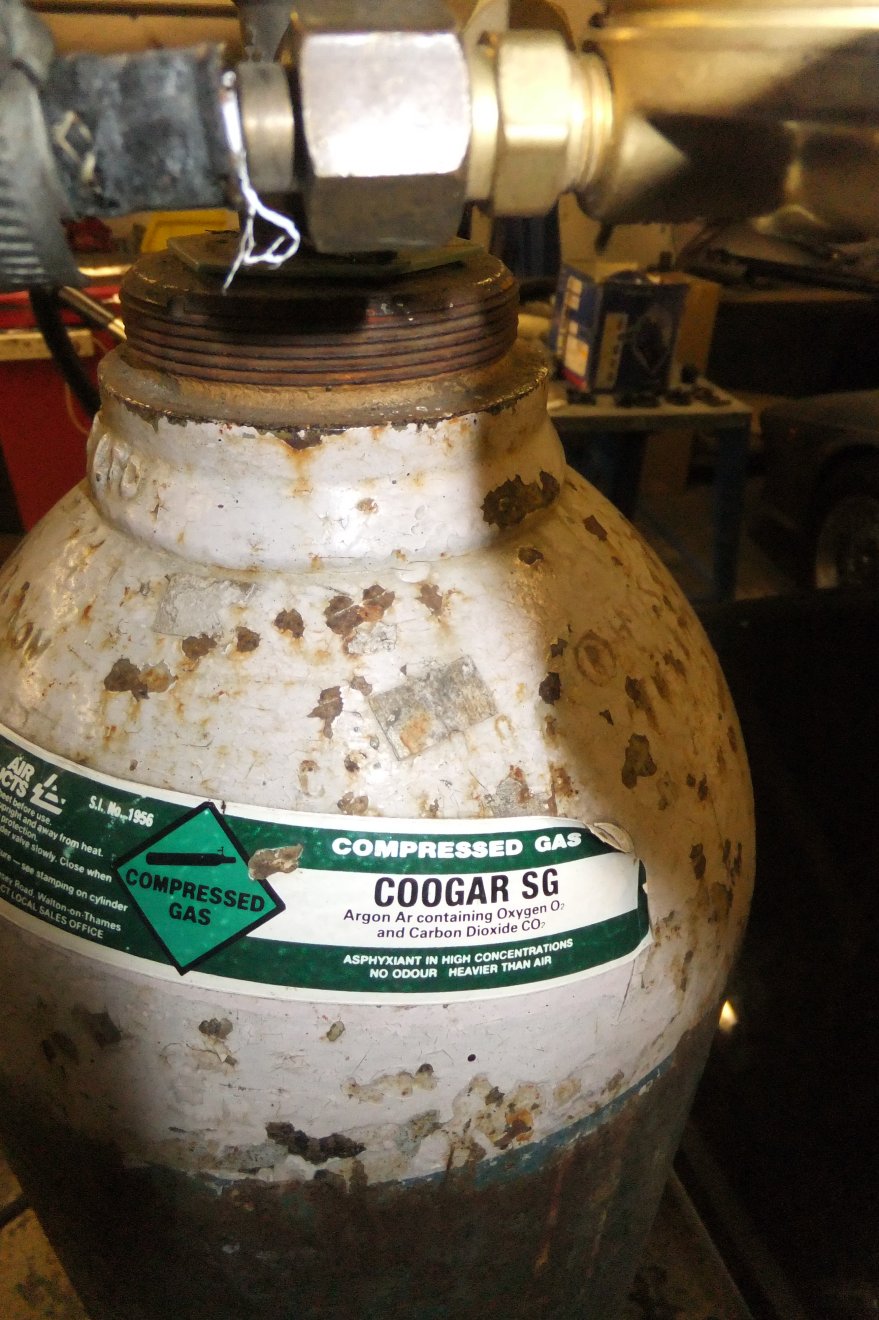
As it happened, some time ago a mate gave me a bottle of 'Coogar' welding gas which is an Argon/Oxygen/CO2 mix. When I say a bottle, I mean it was a bottle with about three breaths of gas left in it, but I thought I could use it to flood the tank and prevent any fumes igniting.
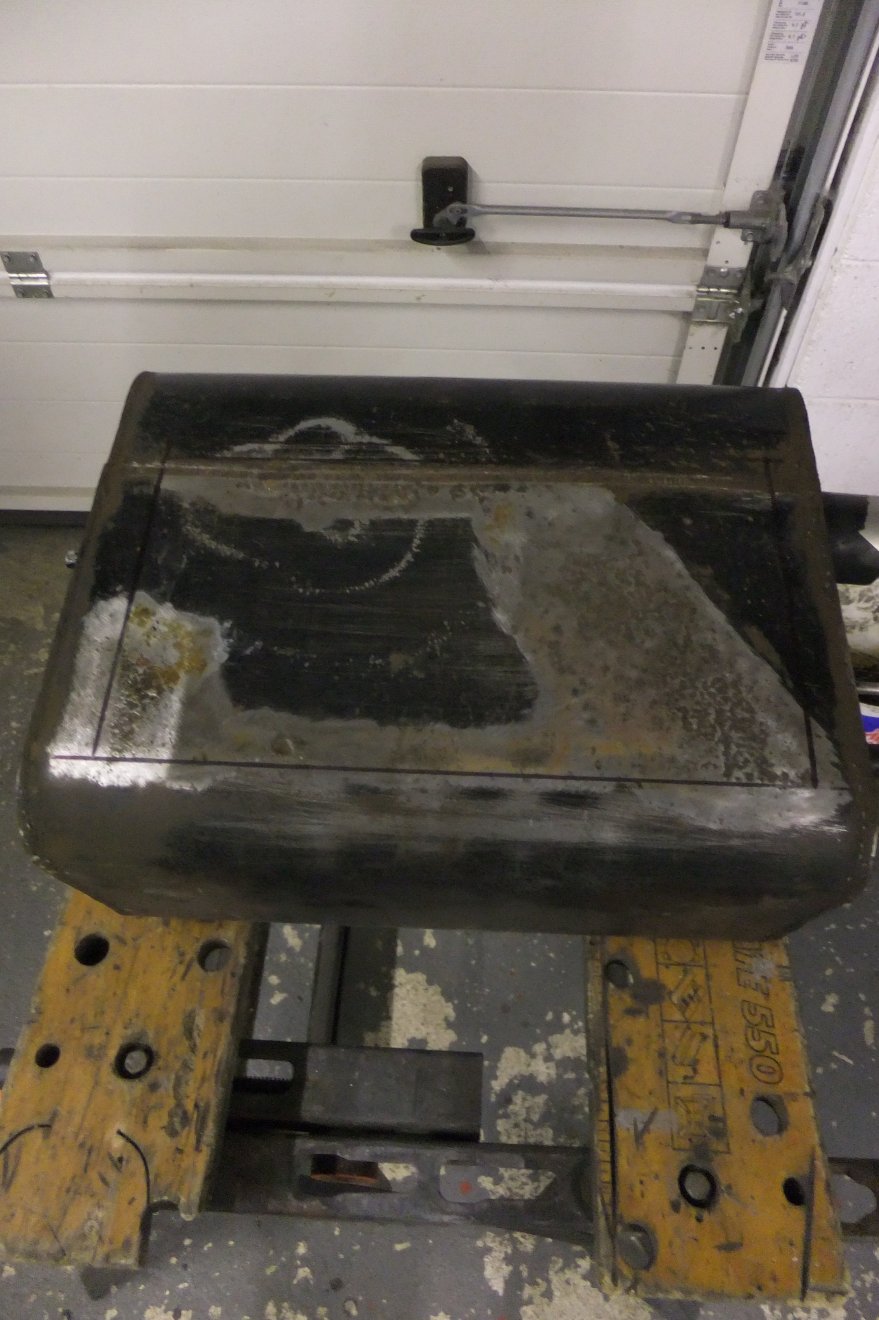
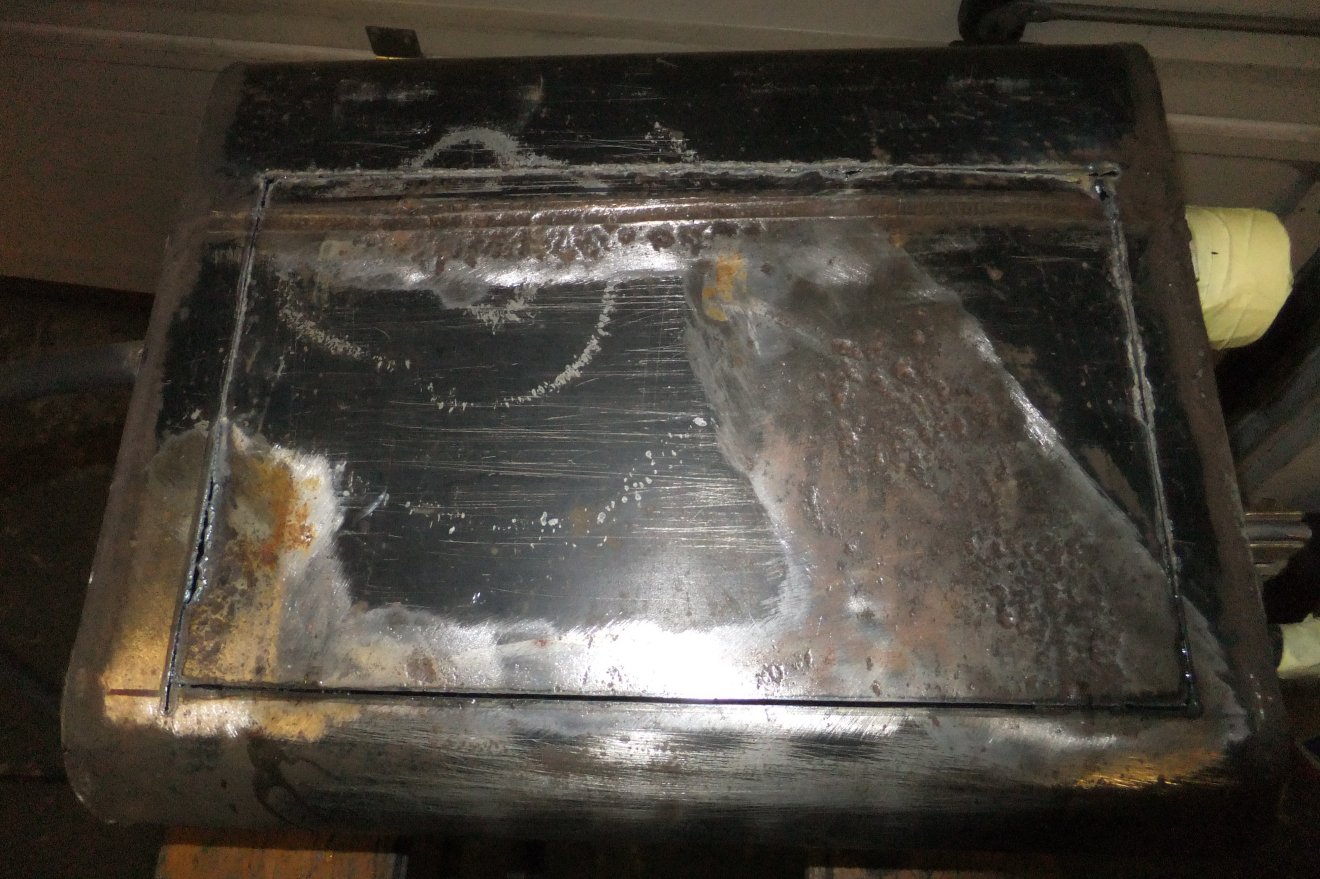
I could have messed around cutting-out the two main areas of pitting but it seemed more logical to just do away with most of the top face of the tank, so I marked up ready for cutting...
... connected the gas (using the TVR's old fuel return line):
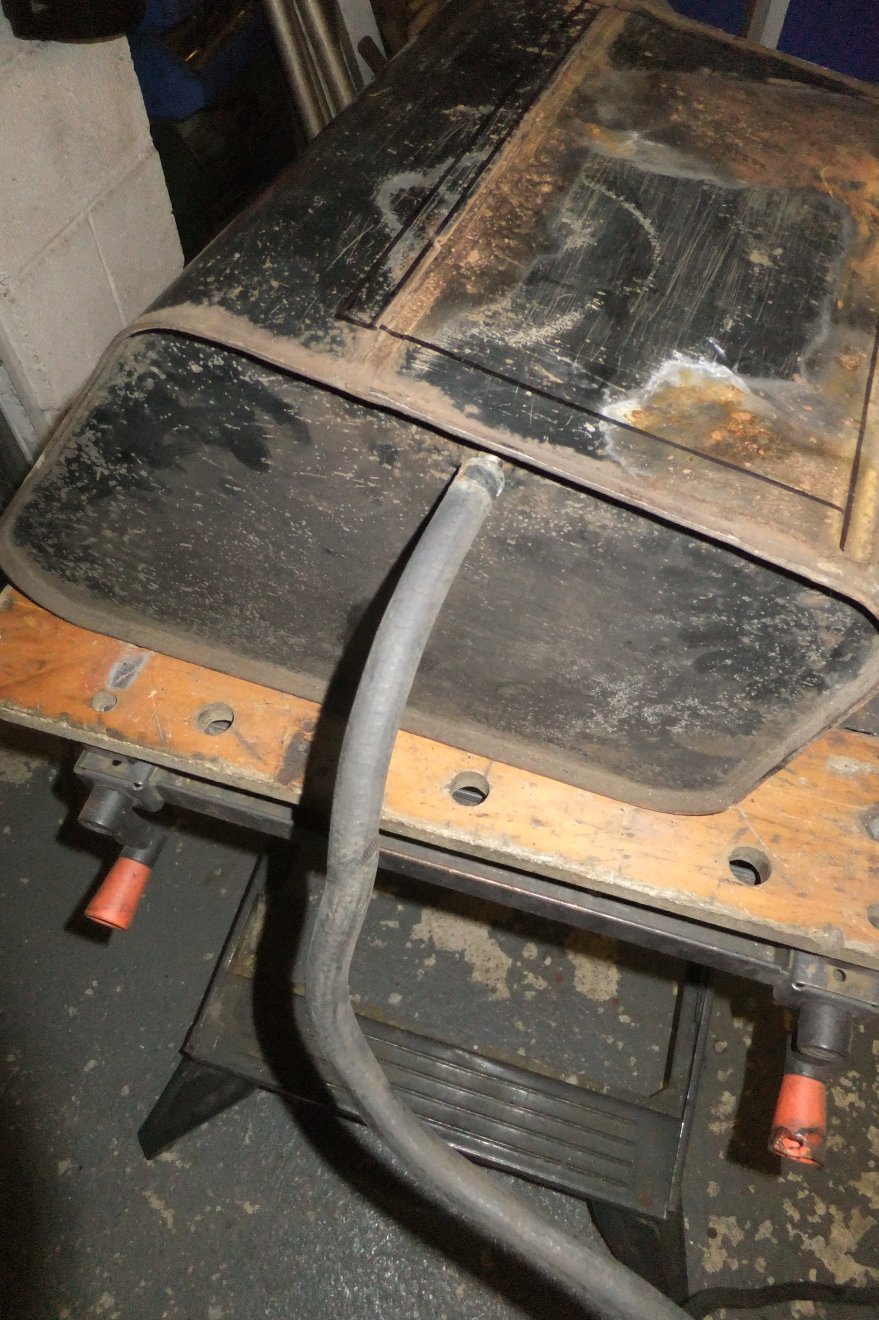
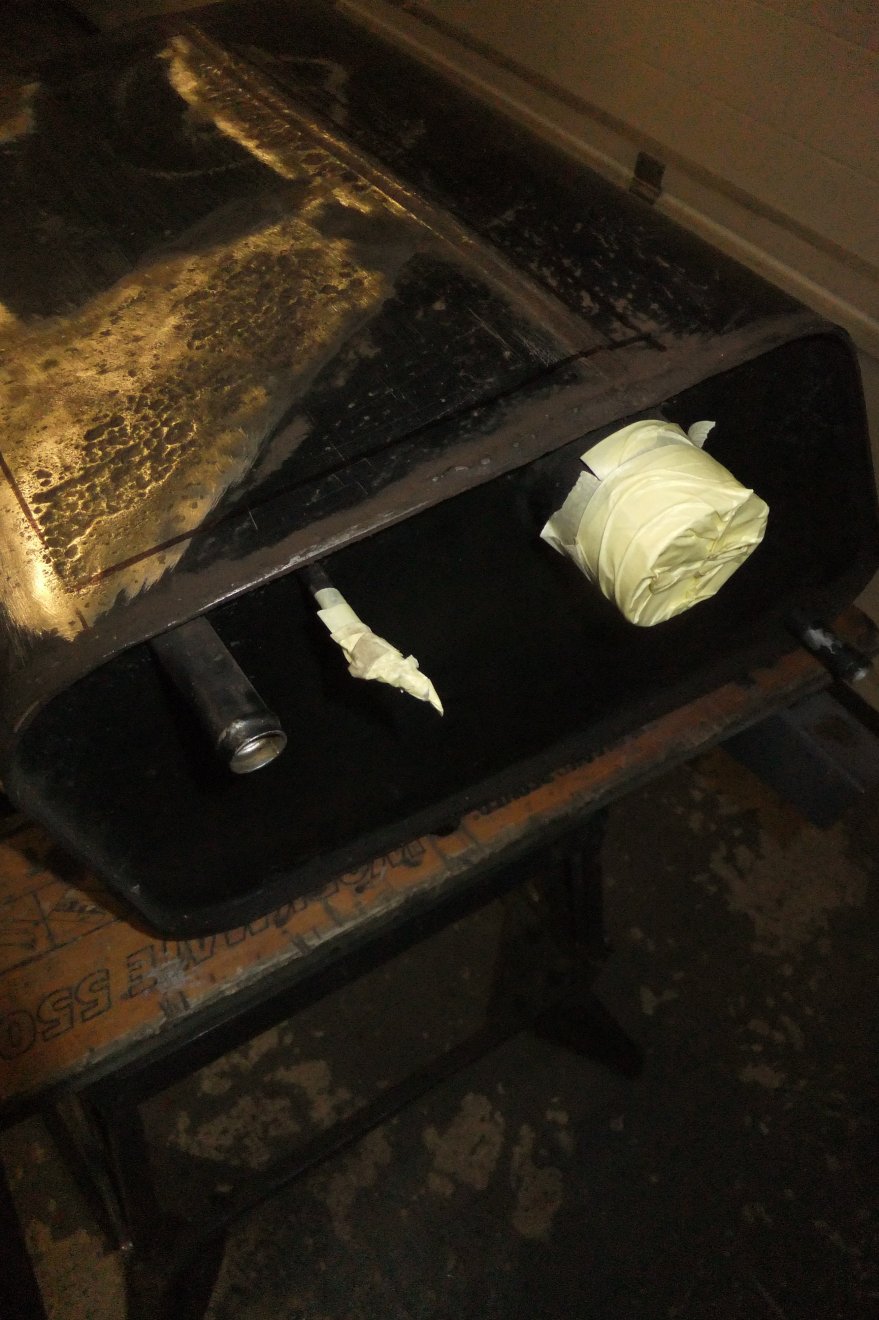
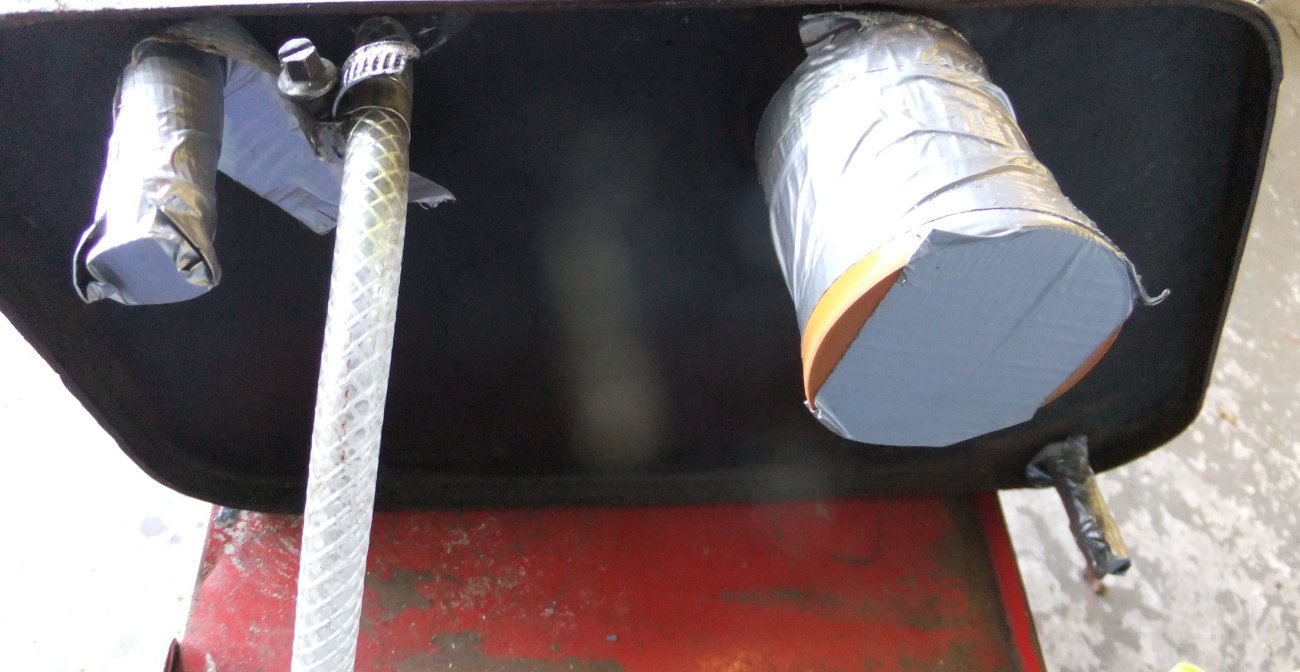
and taped up most of the outlets in order to retain the gas within the tank, but allow it to flow out.
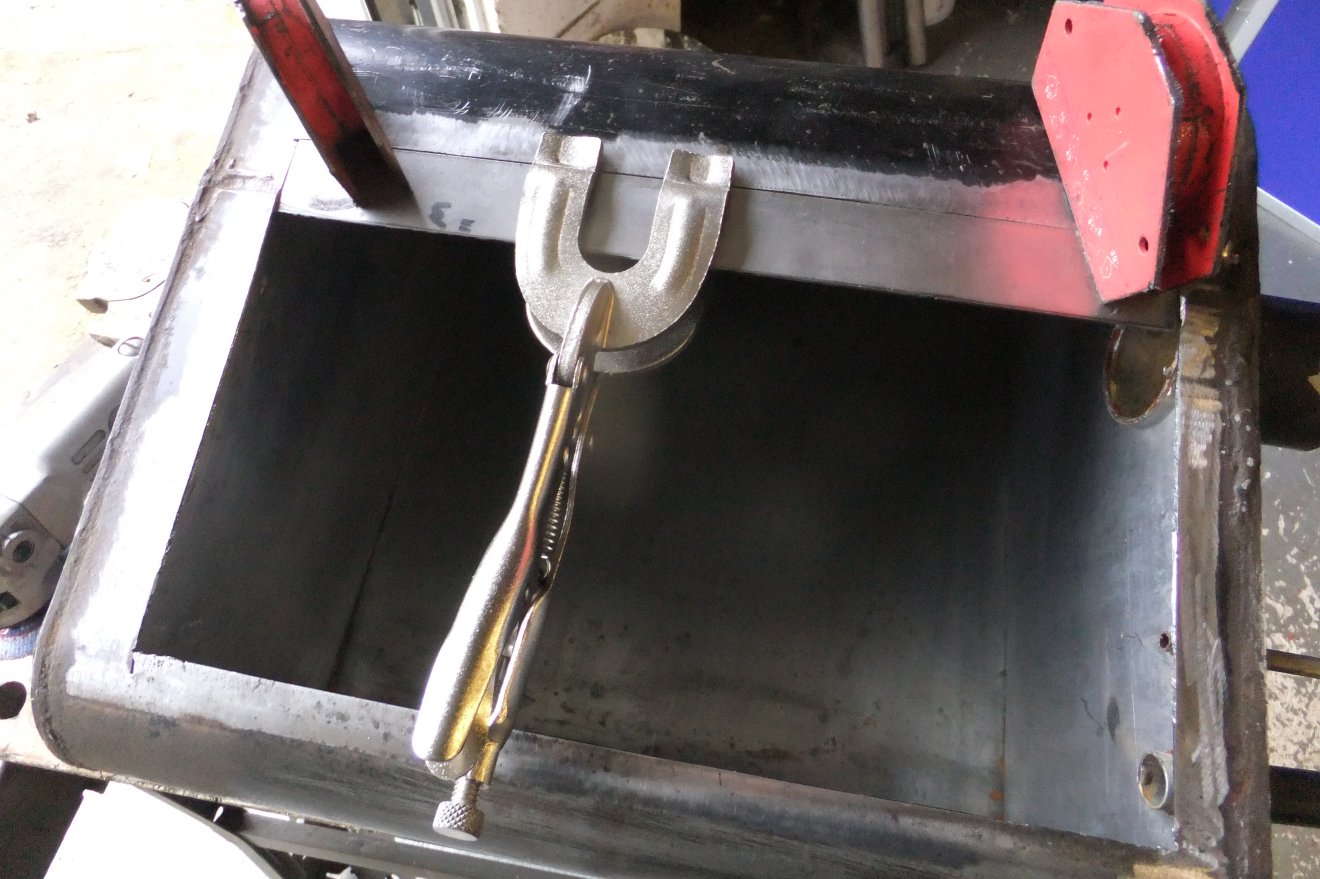
Just about ready to go! I used a length of alloy angle as a torch guide, kept in place with a couple of welding magnets:
I turned on the gas, counted to ten and fired up the plasma! The first cut was still a bit hairy in spite of the purging gas...
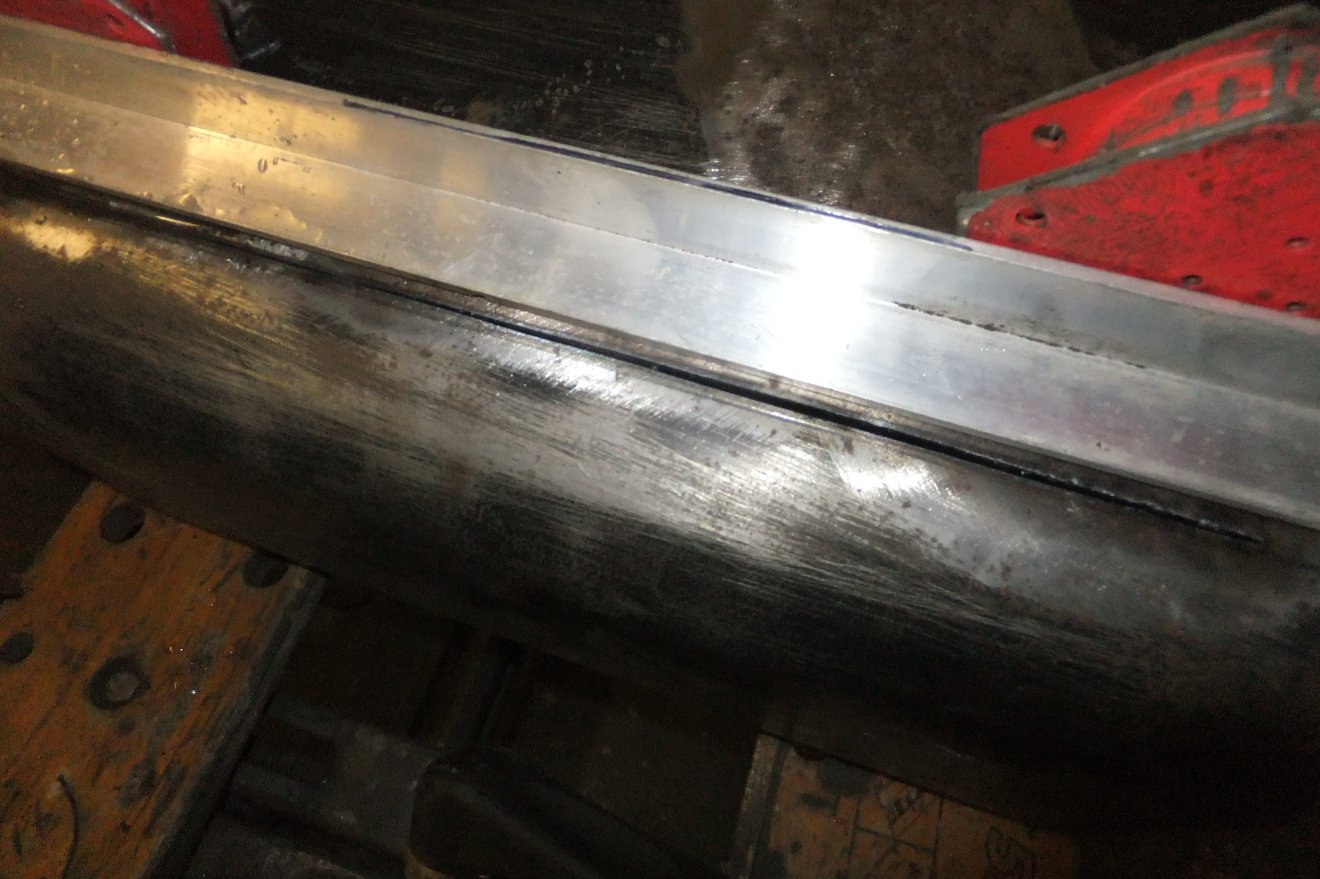
... but it only took about a minute to complete the cuts:
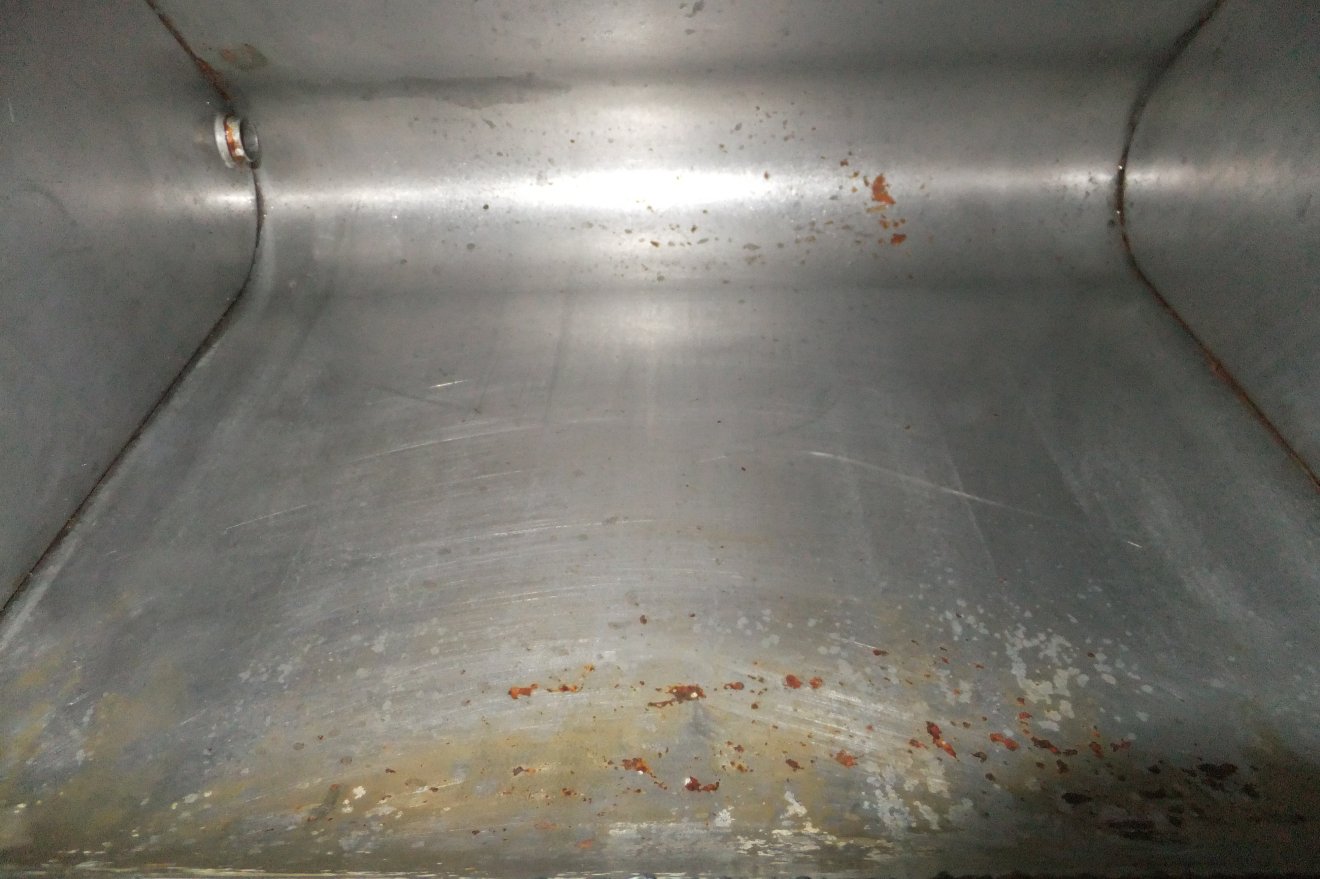
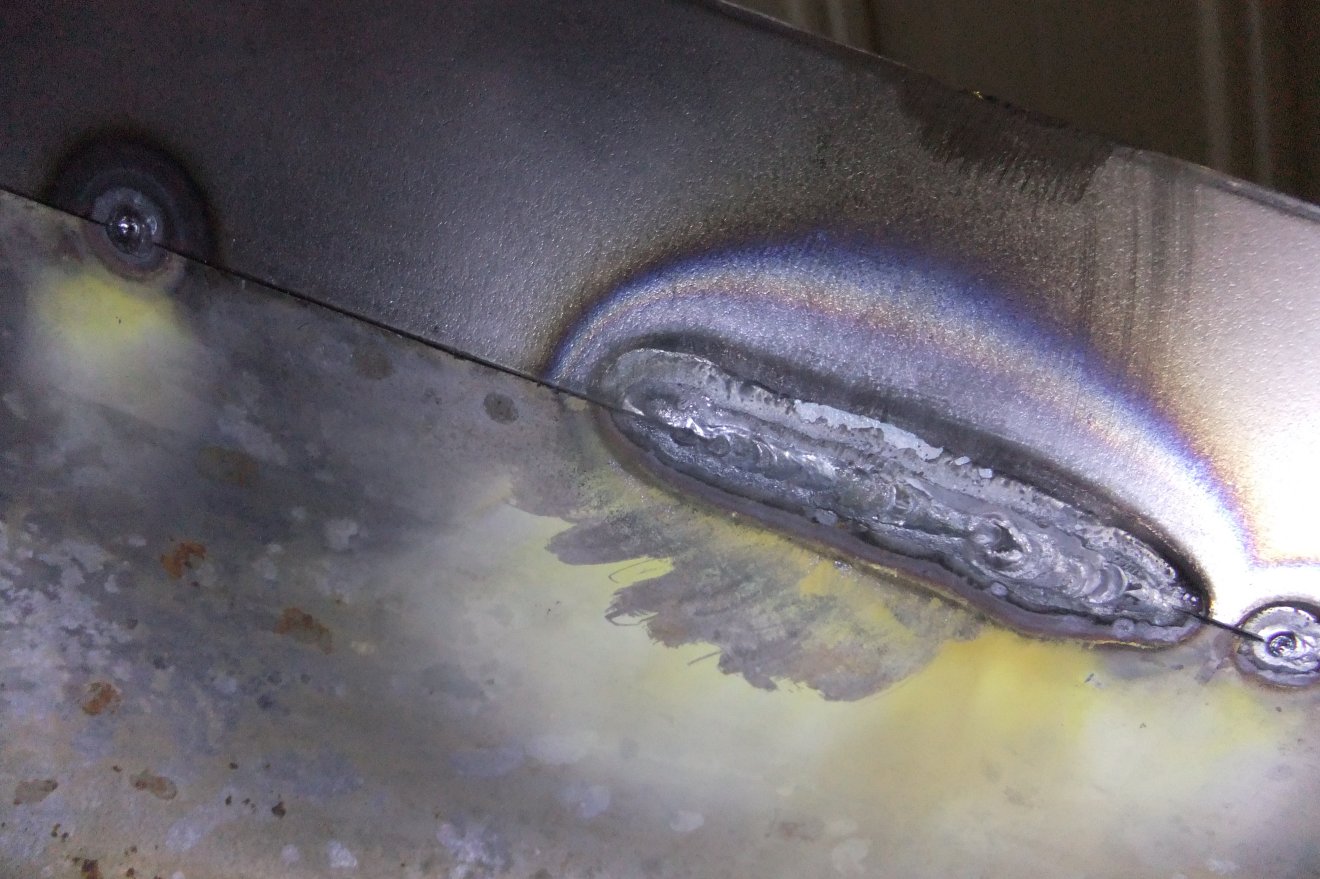
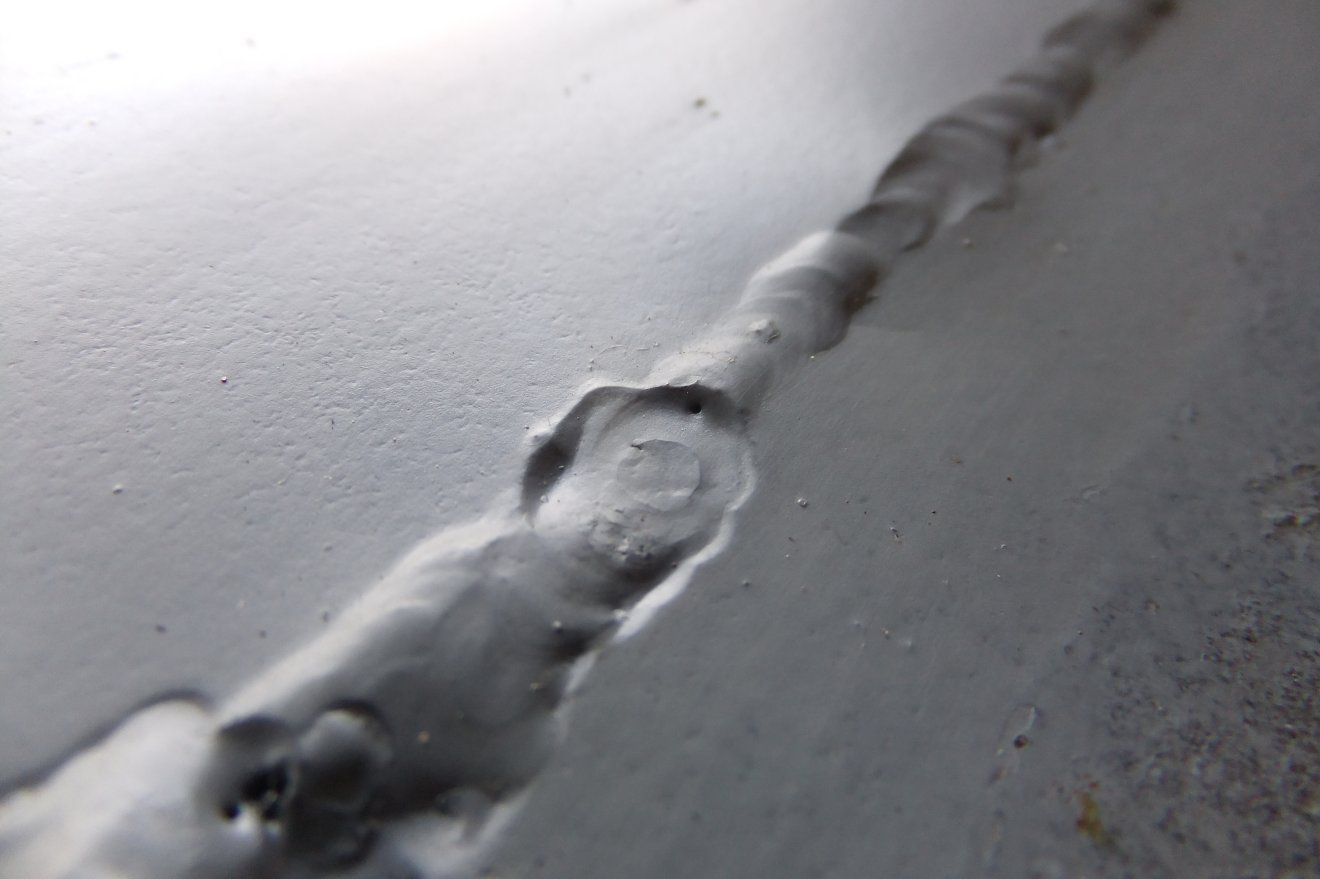
The pinhole is visible here, near the quite-rusty overlapped seam (the screwdriver is about 5mm wide):
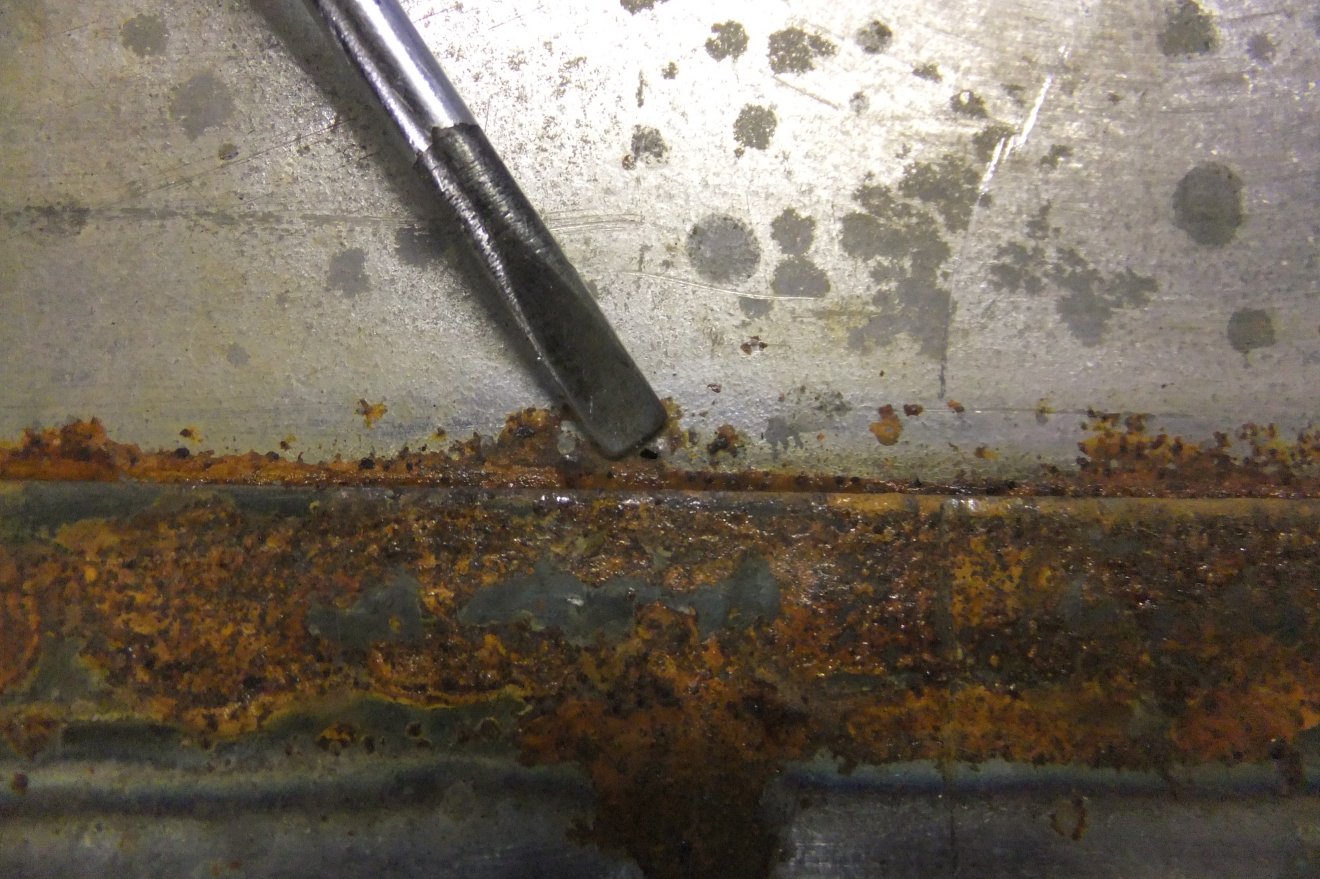
...and is made all the more annoying when you see that the interior of the tank is in pretty good condition overall!
Next job was to cut a piece of the new sheet to be as good a fit in the hole as I could make it... and therein lay a snag. As the tank is made from a sheet of steel overlapped and resistance-welded, it would be difficult to make a neat and effective repair without re-creating the overlap. I elected to weld in a strip to the 'lower' side of the hole I'd cut, then weld in another piece on the 'higher' side that overlapped the first. It all went a bit like this...
First few tacks in place:
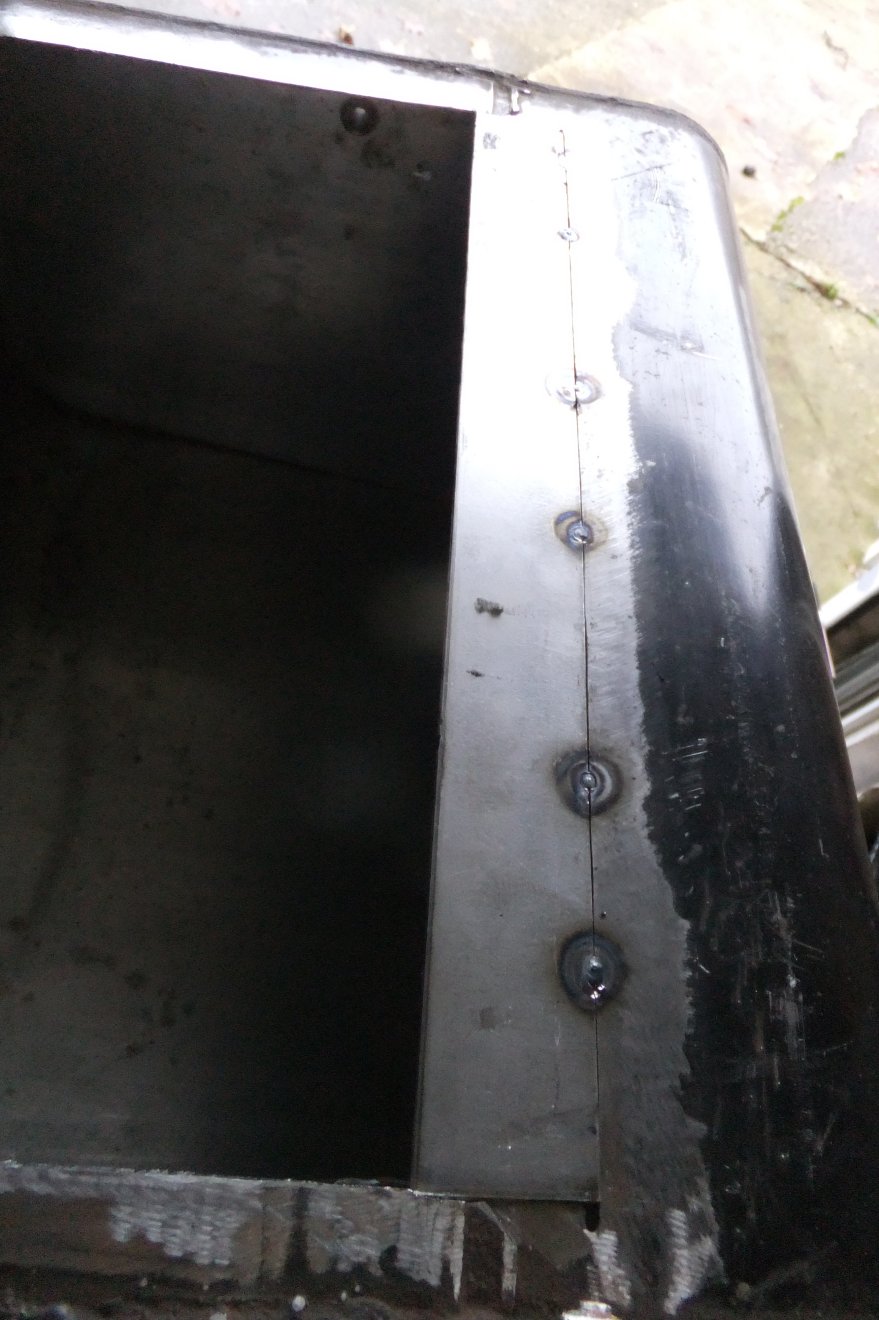
Making sure the weld penetrated right through the joint:
Tacking the main section:
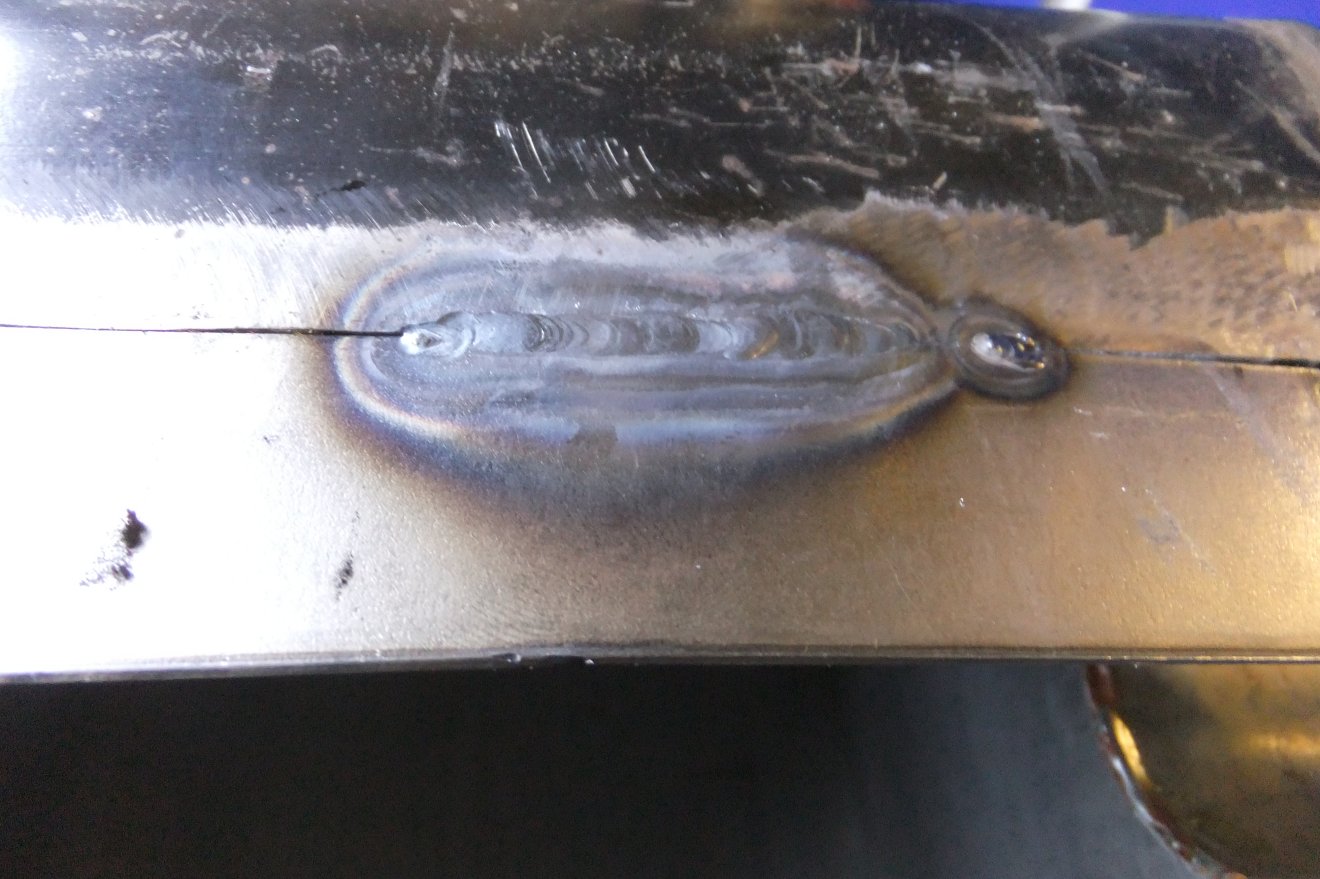
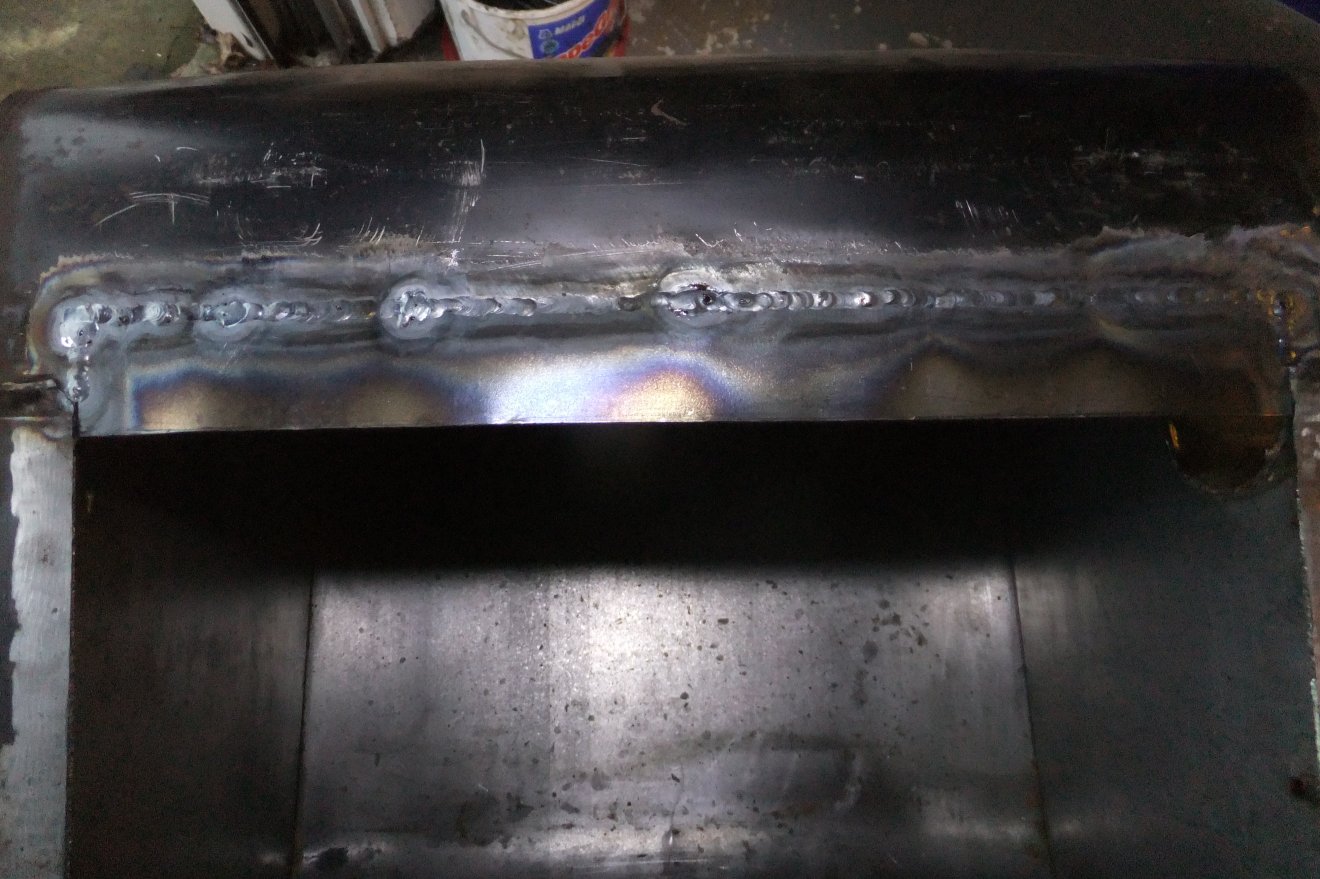
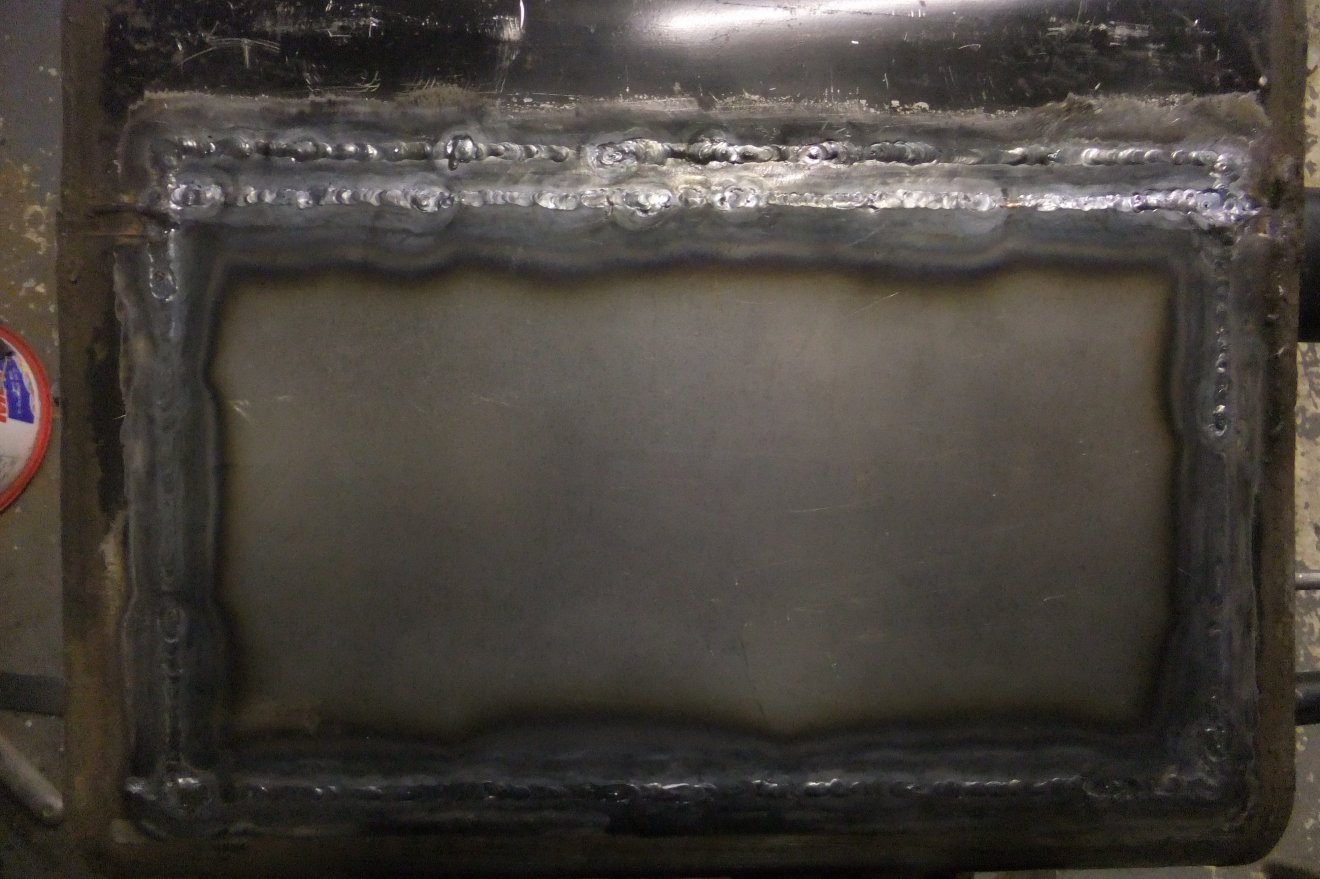
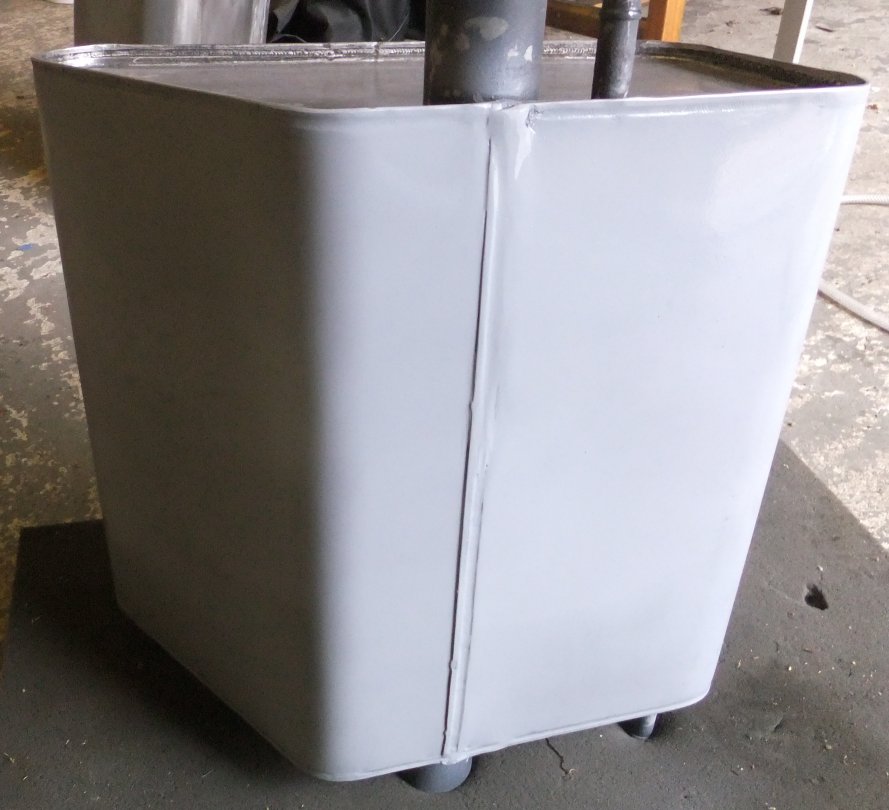
I then welded around the joint, working in small sections and moving around the tank to minimise heat distortion (almost sounds like I know what I'm talking about, doesn't it ;o). I admit the finished result isn't pretty but it is the top face of the tank and won't be seen when back in the car... and anyway it has to be better than the tank leaking fuel all over the place:
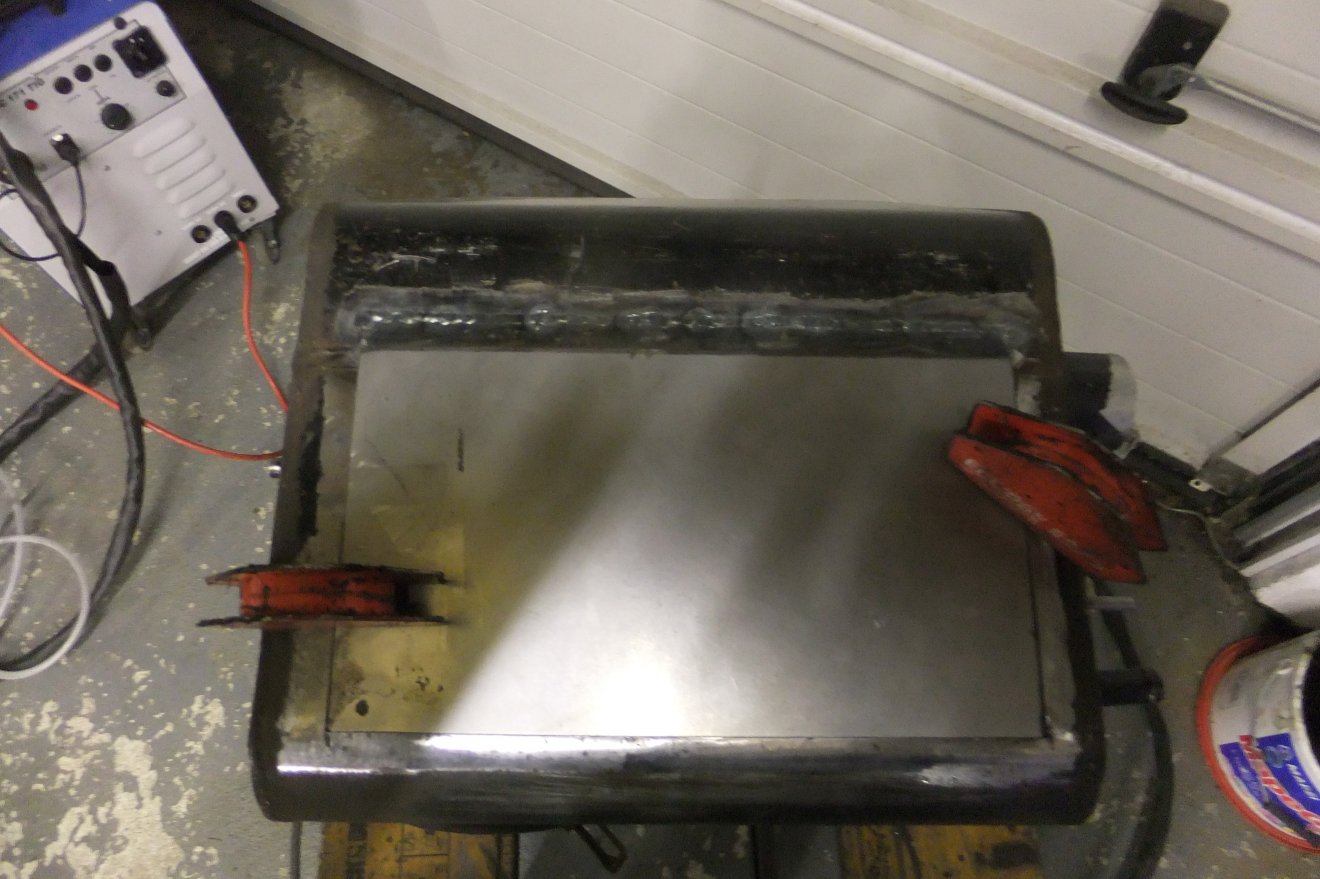
I then sprayed the new steel with a zinc-rich primer and put the tank to one side to await leak testing. To do this I ordered some rubber bungs in various sizes to fit the connection stubs of the tank. I piped an airline to the smallest stub with the regulator set to about half a Bar. The bungs were wedged in and taped for good measure:
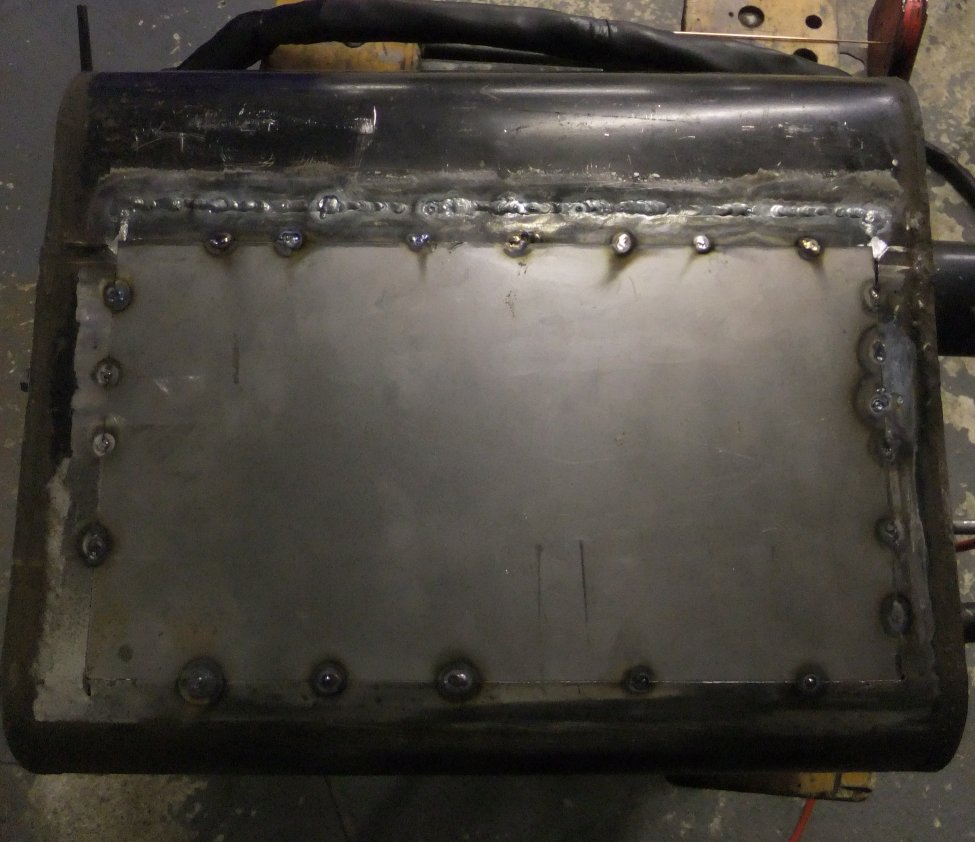
...and I used a length of small-bore hose as a 'stethoscope' to listen along the length of all the welds. It didn't take long to find a leak - just the one, mind you - that was subsequently ground out and re-welded. A further leak test confirmed the tank was ready to be cleaned up and repainted.
The tanks were stripped back to bare metal using a combination of sanding block and clean'n'strip discs (worn ones were ideal for reaching into those nicely-radiused corers!)...
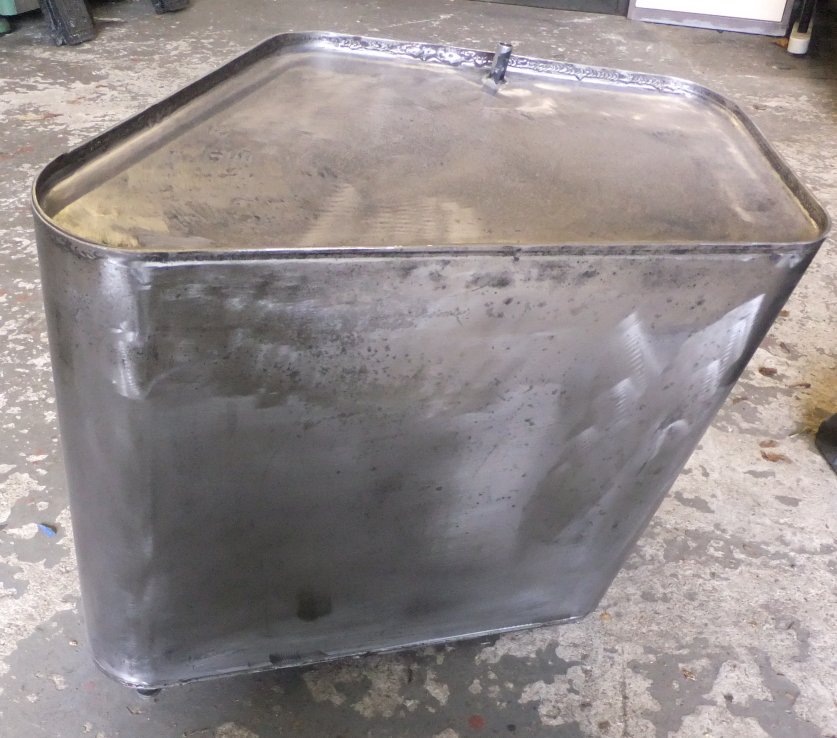
and a quick coat of zinc primer applied:
before painting commenced with the end faces, done with a brush as access was a bit of a problem with a roller...
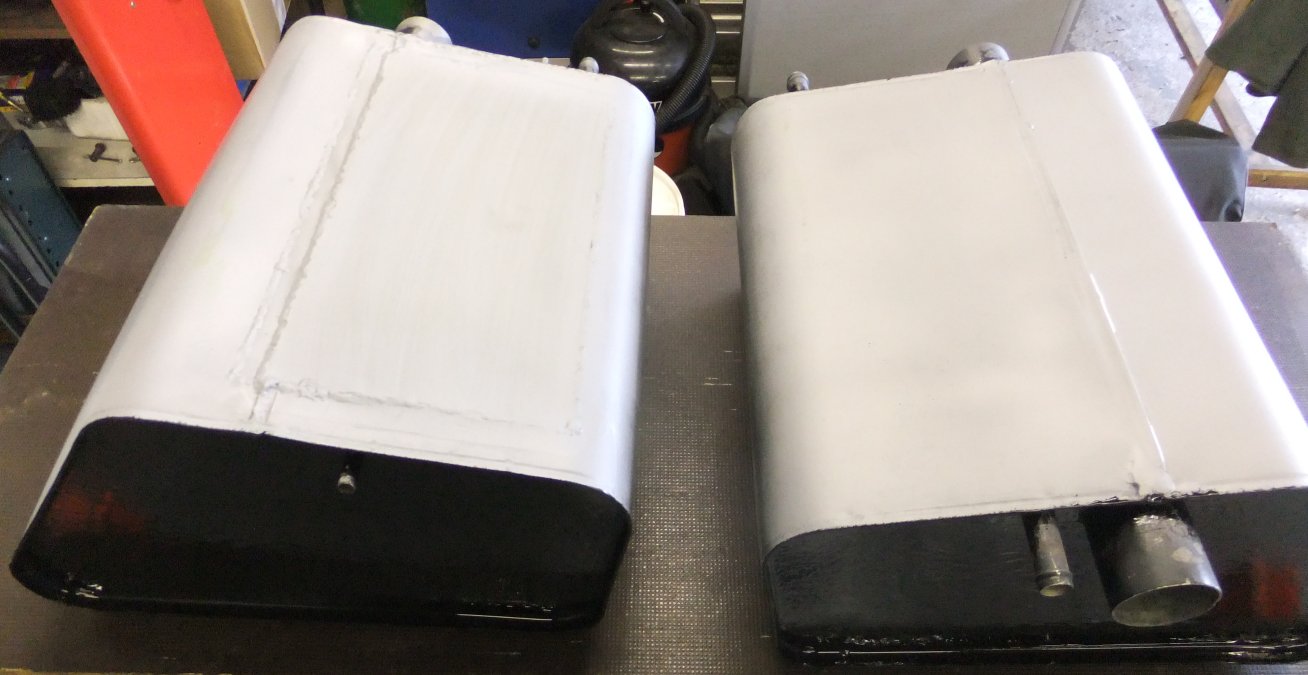
The 'wrap-round' part of the tanks were however coated using a roller:
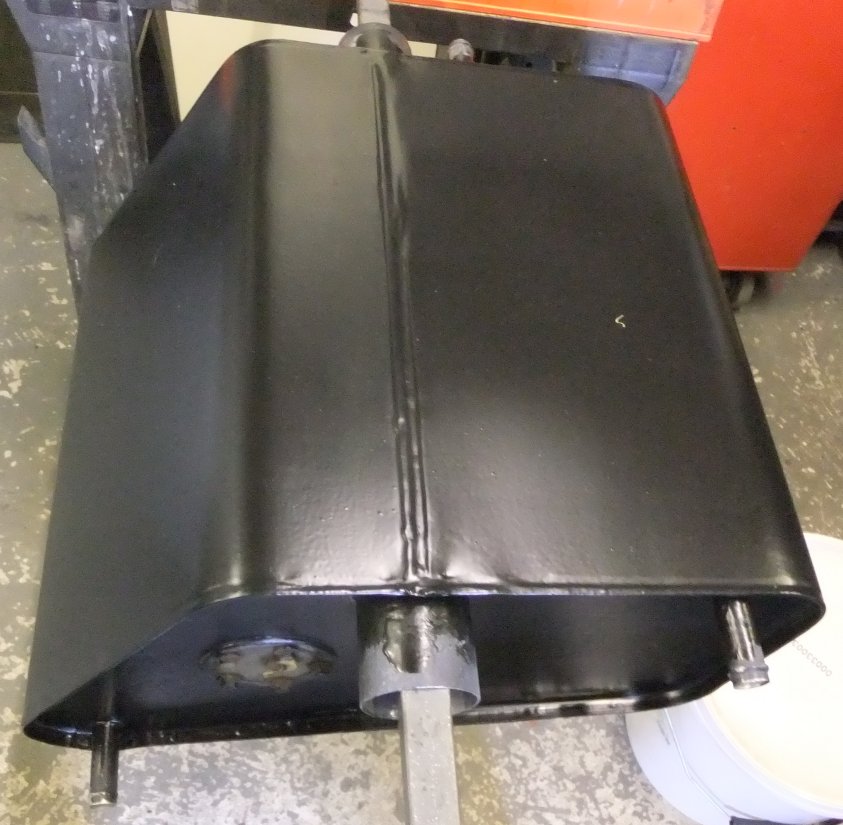
The hose connection stubs were deliberately left unpainted and cleaned up before reinstallation as petrol would dissolve the paint and I want to avoid the risk of contamination or filter blockages.
Next on the refurbishment list are the rear dampers; I replaced the ones I took off during my big overhaul with some less scruffy items that nevertheless should have had a strip and repaint (I'd already got some replica Koni decals to go on them!). Sadly, Koni UK will not supply parts to allow DIY rebuilds, but as my experience and that of others has been that it's virtually impossible to undo the sealing plug in the main body, the job is effectively impossible anyway. As I was keen to get the car back on the road I just gave the replacements the proverbial wipe with an oily rag, checked that the damping settings were the same and threw them on... but I've suspected ever since that the originals were actually working better!